tiistai 28. heinäkuuta 2020

Just checking that I'm alive :D

Hiya!

Well, the Merc (and other stuff) has eaten pretty much all my time, so there hasn't been any updates in, what, four years?

Anyway, Merc is nearing completion, and after that my goal ist to return to the '55 Chevy.

Meanwhile, here's a pic of the '57 Chevy I bought a few years back :D It sure looks like I've got retirement projects a plenty. And I'm nowhere near the retirement age.


torstai 21. tammikuuta 2016

A-pillars might be done?

Cowl piece not spotwelded at this point.
So, hello everyone! A blog post once a year is enough, right? :D Anyway, lately I've been occupied by the Mercedes Benz W111 1962 that was dropped into my hands, but I've been slowly trying to progress the Chevrolet whenever I have the chance.

So, what's up? Well, the A-pillars are pretty much done on both sides. Bottoms of the both pillars have been redone, and I also replaced the right side panel of the firewall/cowl. Well, see for yourself.

Next up should be the trunk floor. It'll be exciting to see whenever I end up updating this blog that what I have done by then. It'll be a suprise for me also.

maanantai 2. maaliskuuta 2015

A-pillars and rust.


Hi everybody! This blog's been dead for quite a while now. I haven't felt like updating because nothing major has been done with the Chevy for quite some time now.

Anyway, I decided to drop a few lines just to break the silence. Picture is worth a thousand words. On the left you can see the bottom of the passenger's side A-pillar. Looks like I need to get fabricating, especially since the hinge brace isn't available at any of the restoration shops.

The left side was a walk in the park compared to passenger's side. Driver's side was simple enough to align in place, but this side is a bit of challenge.

Anyway, I'll try to post more often from here on. At the moment I don't have any other major projects stealing my time, so hopefully I'll be able to concetrate more on my dear '55 Chevy.
Here's the driver's side tacked in place with a bit too wide seam. I was able to get it in place nicely in the end.

tiistai 26. helmikuuta 2013

We're back and we're rocking with the rocker panels!


13. February. Rocker panels modeling. 
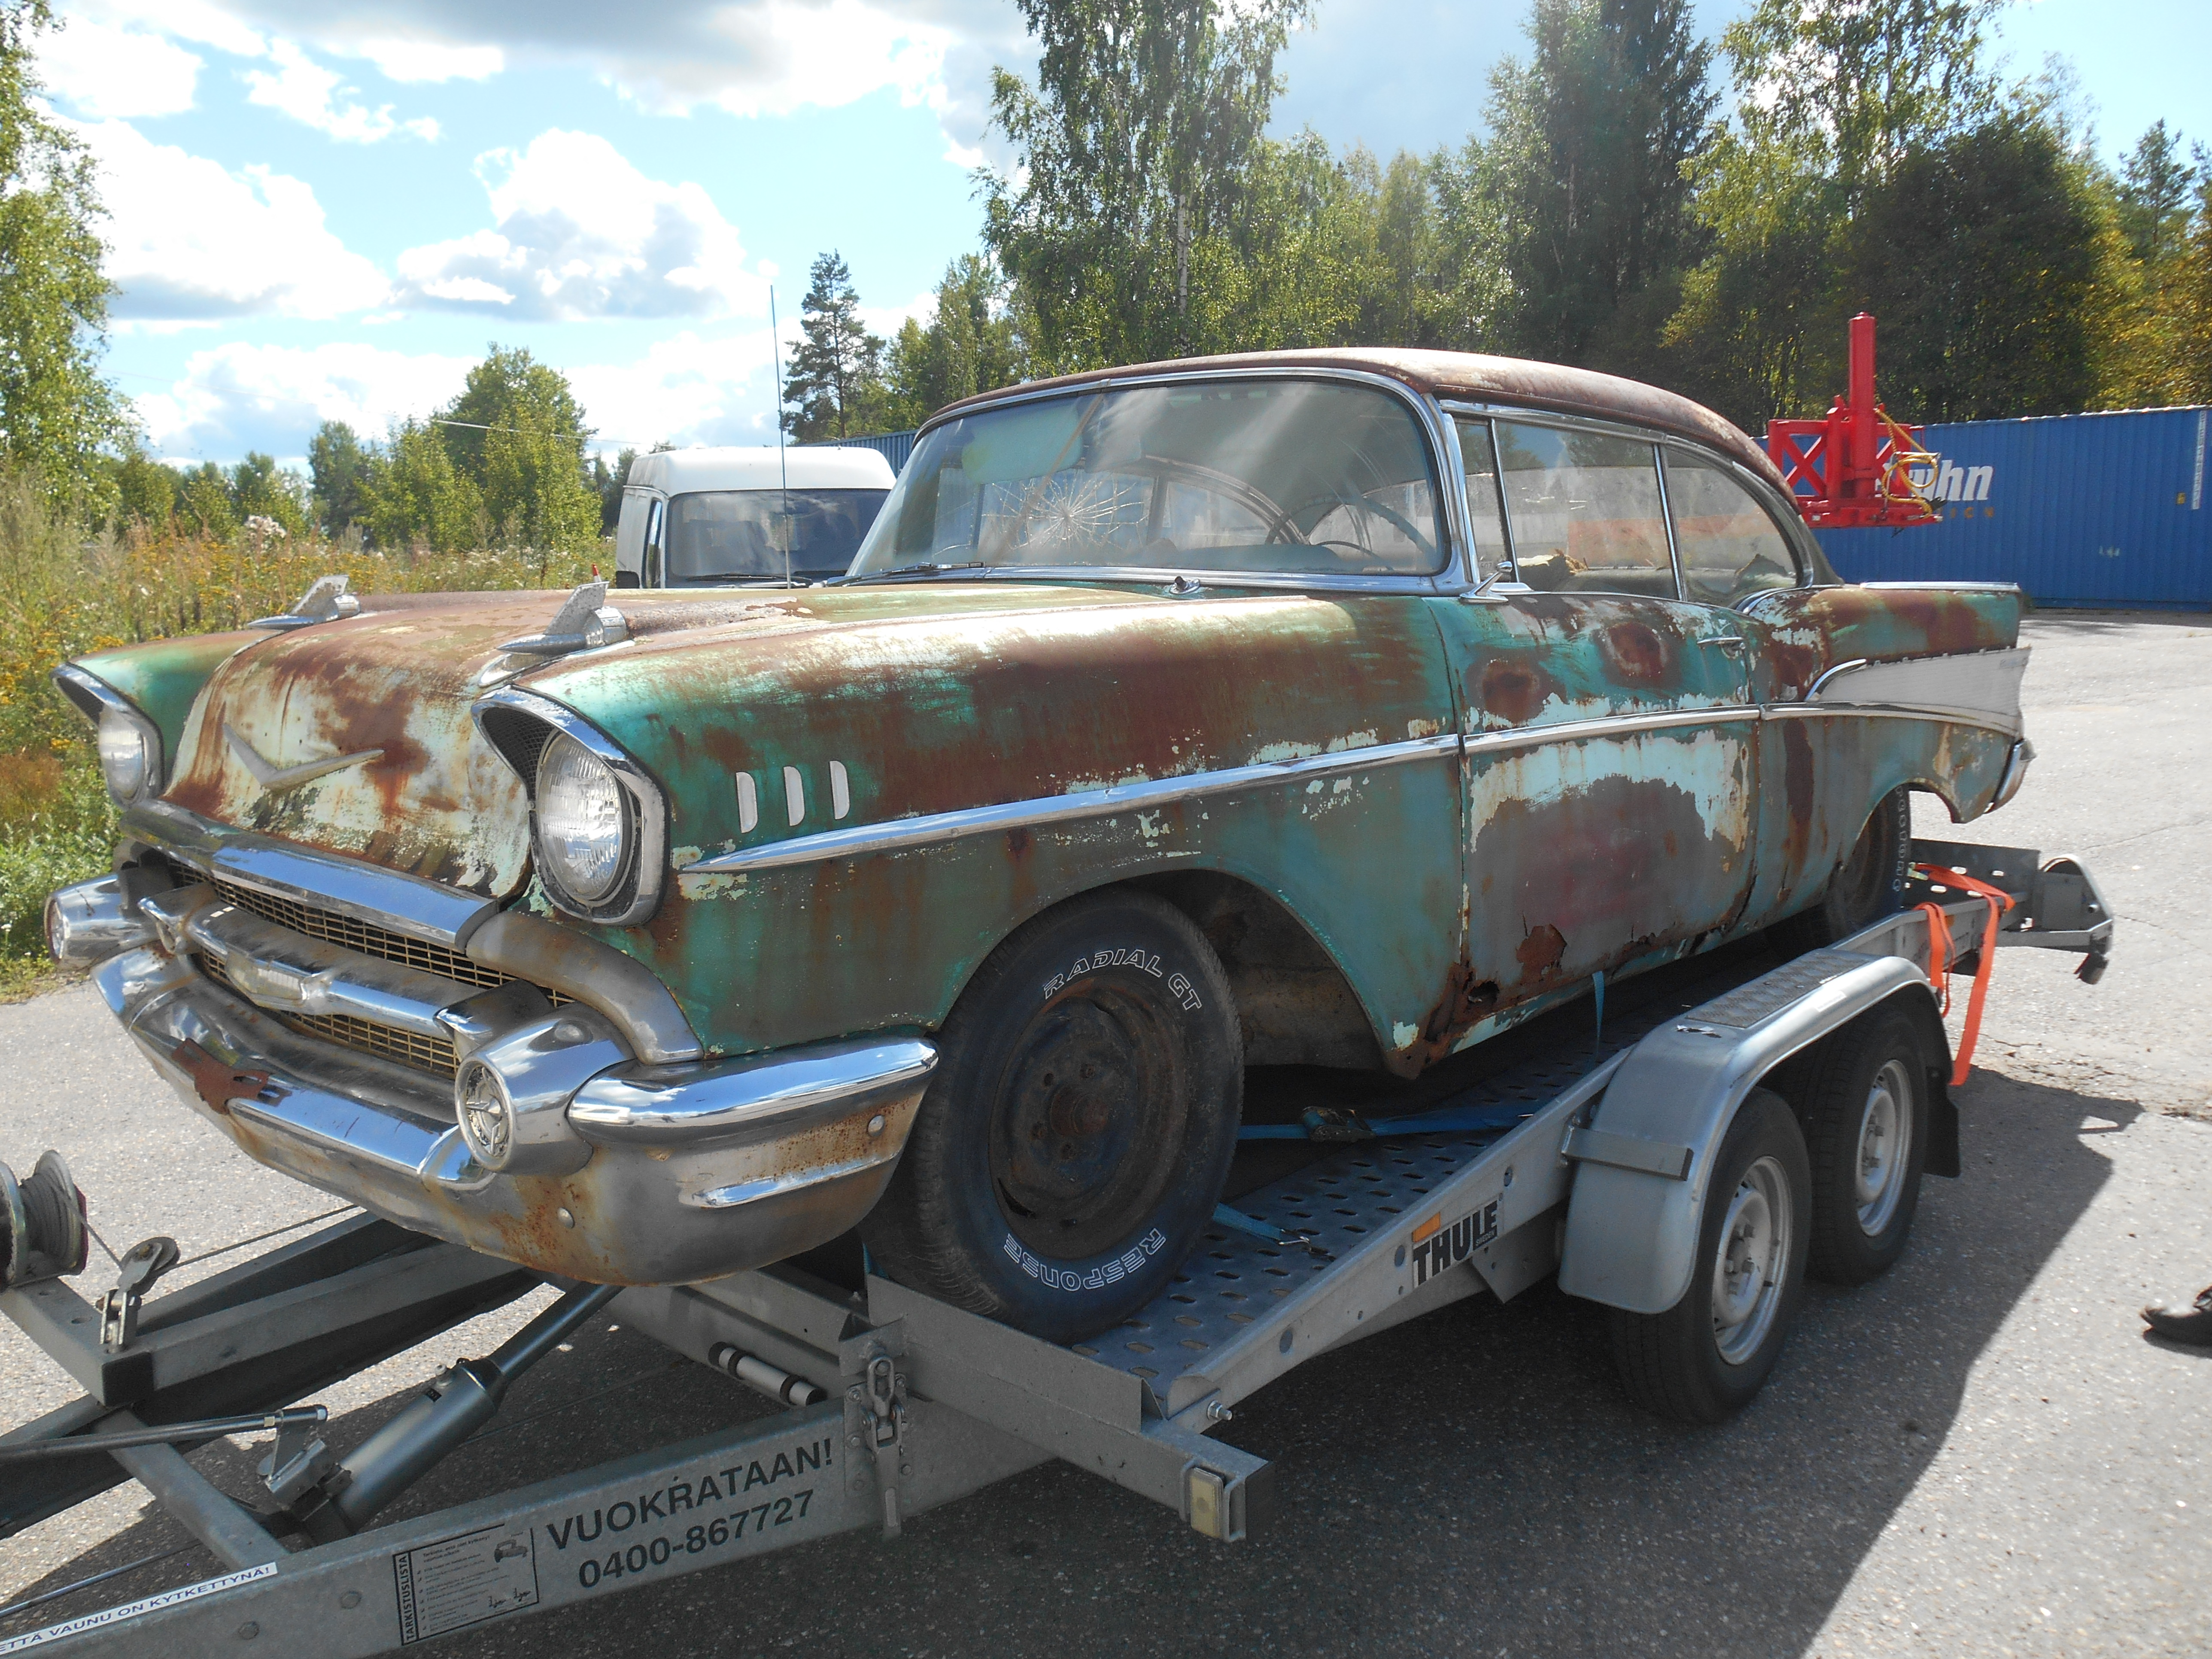
Welder and the new left inner and outer quarters


After a very long hiatus (as you can see, the previous post in this blog is from  August 2011 ), I’m finally back at the Chevy project. Year and a half was spent on house renovations, moving to a new garage, fixing the daily drivers, lack of expensive parts and general laziness. You know that Skyrim can tie you up for quite a while?
Anyway, A brief recap, if not for anyone but myself: in 2012 I moved to a new garage much closer to home.  I managed to sell the old Pontiac Grand Prixes (’89 and ’94) that I had in the winter of 2012, which enabled me to finally get new inner and outer quarters for the left side of the car. I also finally got the new tail panel for the car. As you may have seen from the pictures, the trunk area and the left side of the car are in pretty horrible state.
So, with new metal in stock, we set out to continue the car from where I left it in August of 2011. We set a date with Janne to see what could be done with the rocker panels. Night before we headed to the garage I spray-painted the inner sides of the rockers with zinc-spray to prevent rust and other nastiness.

Left side rocker secured by sheet metal screws.
The next day was great, because I really had no expectations. The A- and B-pillar bottoms are rusted out on both of the sides, so practically there are no lips to align the panels to. This was no problem for an experienced builder like Janne, who just aligned the front doors accordingly (meaning that he lifted the doors with jack and I was in the car tightening and losing the door bolts) and then proceeded to align the rockers according the rightly-aligned doors.  Even though the rocker panels were “Made in the USA” –quality, they still needed some persuasion to fit right. Especially on the driver’s side.
We secured the rocker panels to their correct positions with sheet-metal screws. Next up is getting the rockers off, drilling holes for spot-welding and welding them to their place. Also, I need to manufacture new A-pillar pieces that connect the rocker to the pillar.


24. February

Right side rocker spot-welded into place!
About a week ago I welded the passenger side rocker panel, but with poor results. The welds weren’t good enough, so today I took the rocker off, re-drilled thru the welds and cleaned the area properly. I then proceeded to redo the spot welds, and now it was spot on!

25. February

Got the left rocker panel ready for welding, but ran out of welding gas. Gonna continue soon.  But I wanted to post something to the blog after a long pause. Anyway, at least the car is being worked on... Oh, and I should probably point out, that the B-pillar bottoms will be replaced on both sides, so there are no intentions of leaving the car with the gaps. I just wanted to point that out :)

tiistai 9. elokuuta 2011

New floor!

Sorry for the radio silence. It's been a while since I've had the chance to do anything significant to the dear old Chevy, but now I finally have something to write home (or here) about.Namely, the new floor is finally in place.

I've been clearing out all the bits and pieces of the old floor over the past weeks and welded in place some new metal to the toeboard, so that the new floor can be attached. I also put in some new braces to the doorways, just in case.

Finally today we (I had help from a friend who has built a total of four (4) '55 Chevys in the past) we got the new floor in place. I'm glad Janne R was around for the operation, since I couldn't have accomplished it alone.

We did the replacement by traditional methods. First we lifted the body off the frame using the pulley and the garage lift, rolled the frame out and placed the new body mounts and floor on the frame. Roll frame back under the body, lower the body back on the frame and the new floor, and presto! New floor seemingly in place. Well, we actually only welded the floor in place from the transmission hump and the inner quarter braces. Reason: we're missing the body mounting bolts. Getting them soon.

Next step is to get the mounting bolts in place to secure the floor to the frame, weld the toeboard-new floor seam and start working on the rocker panels. The car is getting new inner quarters and a new trunk floor in the future, so we're working our way from front to end, so to speak.

Anyway, a few pics, if you please!

The frame ready for the new floor pan.

The toeboard needed some cleaning and welding in order to prepare it for the new floor. This pic is somewhere from the middle of the process, I think.

Yeah, sits nicely in place.

It's a bit surreal feeling to have some new metal in the car, that's just been sitting with a rotten floor for the past 4 years.
The new floor and the body ready to meet up. It was carefull going, like trying to cure a dhiarrea by farting.


lauantai 11. kesäkuuta 2011

Cleaning up.

So, got more rotten metal removed from the car and also I managed to get the first "officially" new piece of metal into the car. Namely the toeboard edge got one patch. I'll be repairing it more once the floor gets aligned in place, so that there won't be nasty suprises (Look! There's a two inch gap between the floor and the toeboard!).

Yay! The first piece of new metal that the car has seen in decades! Havent' welded it in place at this point.
The picture isn't that good, but the floor is now 95% gone. There's still the small bit of the original pan in the trunk, which has the frame supports. Gonna remove that just before we start fitting the new floor.
This is what's left on the driver's side
And this is what's left on the passenger side.
And here's where we're at today.
This pile of rust used to be my Chevy's floor. It's pretty obvious that the entire floor really, REALLY needs to be replaced.

torstai 9. kesäkuuta 2011

Floor is underway!

So, after a few days of removing patches attached by rivets, shoddy inner rocker patches and other rusty bits I've finally been able to remove most of the old floor from my '55 Chevy. The old floor was practically gone, there was no salvable sheet metal whatsover left.

In this stage the front of the floor is gone. Also, the drivers side rocker panel was already gone when I bought the car.
It's good to see the old, rotten floor gone. There's still a lot of cleaning up to do, since the old rockers were left inside the new patch panels. So, there's rusty metal with rusty metal inside it (so that you can grind while you grind). Next up is the patching of the toeboard and more cleaning up. I'll post better pictures later on.

I'm just happy to have this project underway!